Timelapse Video work wonders by speeding up action, compressing lengthy processes into mere seconds. It enables your brand to transform slow or barely noticeable events into dramatic and engaging visuals.
Here at Studio 52, we’ve recorded the development of dozens of building projects from ground up and success stories of several events. Time lapse videos are an incredible way to experience the world in a whole new light, revealing the beauty and dynamism of even the most gradual changes.
Join us as we uncover the 10 most valuable tips on creating professional timelapse video every time!
Table of Content
Plan Your Shot
Instead of shooting continuous video, you’ll capture a series of still photographs that will later be turned into video frames. It’s the subtle differences between these frames that bring life to the final motion.
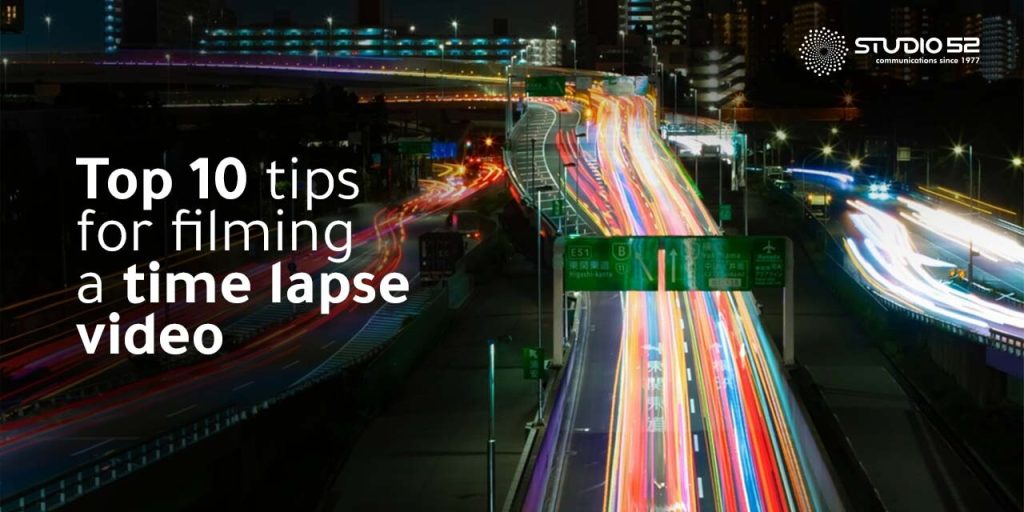
Now, in planning your shot, consider the effect you want to achieve. Do you envision clouds gracefully drifting across the afternoon sky or car lights painting motion-blurred red and white streaks at night?
Take into account the camera angle as well. If there will be pedestrians or traffic in the scene, ensure they won’t obstruct your shot.
Keep in mind that time lapse shots featuring people tend to have frenetic motion. Depending on the interval settings, individuals may appear to walk briskly or blur into motion. Carefully selecting the right settings will help you achieve the desired effect for your unique time lapse creation.
Use Proper Camera
You’ll find a wide range of ideal timelpase cameras that can capture high-quality video, and some even come with built-in time lapse functionality.
If you own a professional camera you can effortlessly set up a time lapse recording just at a click of a shutter and let it work its magic. The camera will snap pictures at the preset interval, making your job a breeze. Once shooting is complete, it will seamlessly convert the images into a video file.
However, if your camera lacks this functionality, don’t worry! There are devices available that can be plugged into your camera to control the interval and picture snapping, making time lapse possible. Additionally, you can explore software options that efficiently convert your photos into mesmerising time lapse videos.
With a little help from these tools, you can enjoy the art of time lapse regardless of your camera’s built-in features.

Film in 4K
The beauty of shooting in 4K isn’t just about image quality; it’s all about the extra size it offers. When editing a 1080p video, having 4K footage means you have twice the size you actually need. This surplus size allows you to add engaging motion to your shots, like gradual zooming in or out, or smooth panning across the scene.
With 4K, you gain immense flexibility during the editing process, enabling you to craft visually stunning and dynamic videos with ease. Embrace the advantages of shooting in 4K and elevate your editing game to a whole new level!
Play With Manual Settings
Seasoned photo and videographers hardly rely on auto focus or auto exposure. And when it comes to time lapse video, manual settings become extremely critical.
As time progresses and lighting conditions shift, your camera won’t adjust settings consistently, resulting in variations in focus and exposure across the photos. This inconsistency can lead to an undesirable flickering effect in your time lapse.
When shooting time lapse video during nighttime, longer exposure settings can yield fascinating blur and lighting effects. However, keep in mind that the exposure duration mustn’t exceed the time lapse interval, ensuring the perfect balance between creative visuals and a well-crafted time lapse. Stay in control with manual settings and unlock the true potential of your time lapse videos!
Use Solid Tripod
Mastering timelapse photography requires the camera to stay perfectly still for extended periods, often for hours on end. The key to achieving this stability is by using a reliable tripod.
Even with a tripod, utmost caution is necessary not to touch the camera during the time lapse. Any minute movement or pan can leave noticeable traces in the footage, compromising the overall quality of your creation. Embrace the tripod’s steadiness and exercise precision to capture stunning time lapse sequences without any unwanted disturbances.
You Need a Good Battery
One of the more infuriating experiences for filmmakers is technical issues while capturing the perfect shot. Imagine shooting a time lapse sunset and just as the sunset reaches its most breathtaking moment, your camera’s battery light starts blinking, on the verge of shutting down before the sun completely disappears.
That’s why it’s crucial to always be prepared and have spare batteries on hand to capture those spectacular moments without any interruptions!
Set Proper Interval
The interval you set between shots determines the motion speed in your final time lapse video. However, there’s no one-size-fits-all approach.
For instance, on a windy day when clouds move quickly, a one-shot-per-second interval may be suitable. On the contrary, on a calm day with still clouds, you might opt for one shot every 10 seconds. When capturing the sun’s motion or shifting shadows, you’ll need an even longer interval, like one shot every 30 seconds.
Pro tip: Opt for shorter intervals whenever possible. You can always speed up the time lapse footage during post-processing, but slowing it down will create a jerky appearance. Choose your intervals wisely to achieve a smooth and captivating time lapse experience!
Use ND Filter
When shooting the sun, it’s essential to avoid overexposure in your shot. While you can make adjustments to the aperture and ISO settings, sometimes it may not suffice.
An ND filter or variable ND filter offers a valuable solution to block out excessive light effectively. These filters come in handy, particularly when you aim to fine-tune the depth of field and create a pleasing background blur in your shots. Embrace the versatility of ND filters to achieve beautifully balanced and visually stunning sunlit scenes.
It Takes Time
Preparing for a time lapse shoot requires patience as the shooting duration can vary significantly based on interval settings. Depending on your preferences, a time lapse video can take several minutes or even a couple of hours to complete. Be ready to wait!
For instance, a ten-second time lapse at 24 frames per second requires 240 shots. If you opt for a 3-second interval, it’ll take a mere 12 minutes. However, a 10-second interval stretches the duration to 40 minutes, a 30-second one to 2 hours and so on.
Since you probably wouldn’t leave an expensive camera unattended, ensure you’re well-prepared for the wait. Bring a comfortable chair, a good book, video games on your phone, and plenty of water to stay refreshed during the shooting process. Embrace the wait with the right mindset and enjoy the creative journey of crafting your mesmerising time lapse video!
Capture Every Moment with Precision! 📸 Hire Us Today for Expert Timelapse Camera Services
How To Use Time Lapse Photography Setting
To begin your time lapse photography adventure, head to the Time Lapse Photography setting. Here, you’ll have two crucial choices to make. First, select the interval – this determines how frequently the camera will record each individual frame. You have the freedom to pick any interval from a speedy 1 frame per second up to a relaxed 1 frame every 10 minutes.
Next, set the shooting time, deciding how long you want the camera to capture these individual frames. Whether you opt for just a few minutes or extend it to several hours, it’s all up to your creative vision.
If crunching numbers isn’t your thing, no worries! Simply check the information screen, and it’ll tell you the projected video duration.
When you’re ready, press OK to start the process, and the camera will automatically begin capturing frames for the specified time. Now it’s all set to capture those stunning moments for your captivating time lapse video!
Conclusion
For exceptional time lapse videos, consider professional services. Studio 52 offers top-notch timelapse video production services in Dubai and beyond. Rely on their expertise for standout projects that leave a lasting impression!
To elevate your time lapse creations – combine artistry, technical know-how, and attention to detail. Follow the tips in this article to produce great time lapse videos, but if you’re doing this for a business campaign, Connect with Studio 52 today for standout results!
FAQ
Frequently Asked Questions
What is time lapse video?
A time lapse video is a video that plays back at a much faster rate than real time.
This allows you to see events that unfold over a long period of time in a shorter
amount of time. For example, you could use a time lapse video to show the growth
of a flower, the construction of a building, or the movement of clouds across the sky.
How Does Time Lapse Video Work?
Time lapse videos are created by taking a series of still images over a period of time.
The interval between each image can be anything from a few seconds to several hours,
depending on the desired effect. The images are then compiled into a video and played
back at a much faster speed than they were captured. This gives the illusion of time
moving much faster than it actually is.
What is the difference between time lapse and hyperlapse video?
Hyperlapse is a type of time lapse video that creates the illusion of moving through space.
This is achieved by taking a series of still images while the camera is moving, and then
stitching them together to create a smooth video.
What equipment do I need to make a time lapse video?
To create a time-lapse video, you need a camera or smartphone, a tripod for stability,
an intervalometer for timed shots (many cameras/phones have this built-in), and video
editing software for post-production.


