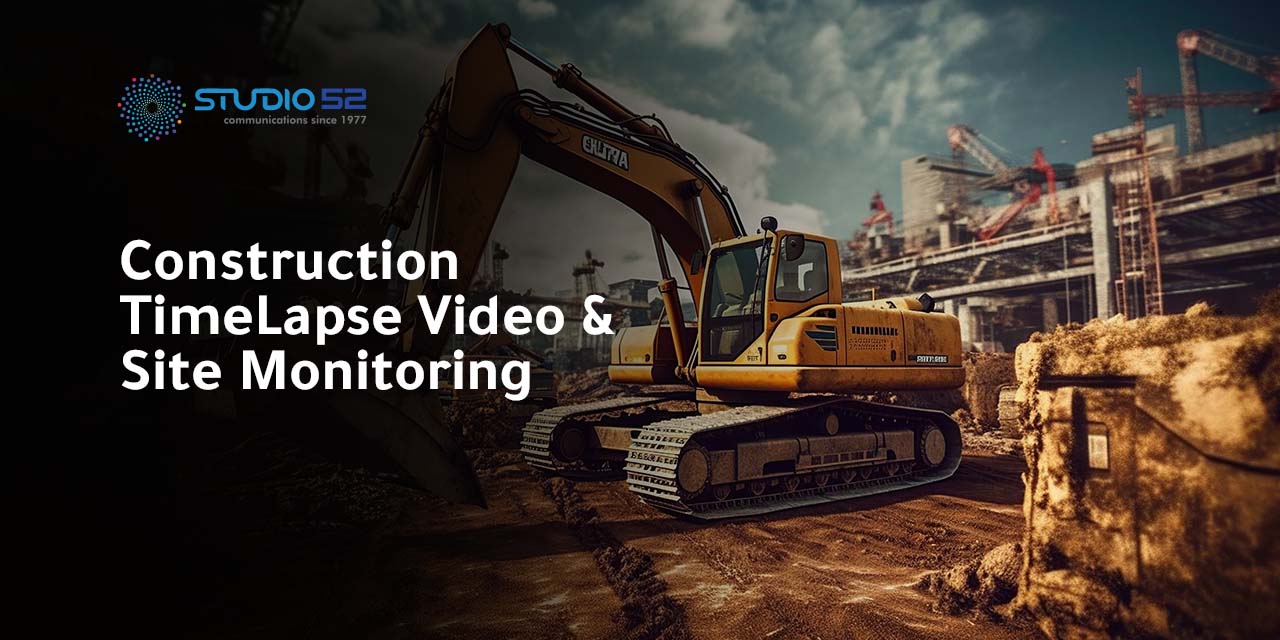

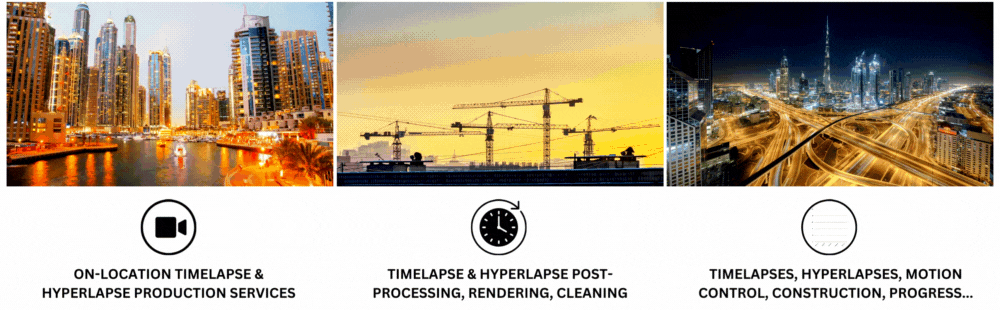
Showcase your project’s journey with Studio52 — experts in construction time-lapse video production that capture progress with precision. Get in touch today!
In the fast-paced world of construction, keeping an eye on the progress of your project is essential. While daily site visits are one way to do this, there’s a more efficient and visually compelling method: time-lapse videos. These videos condense weeks or months of construction into just a few minutes, providing an incredible overview of the entire process. To create stunning Construction timelapse videos, you need the right camera and settings. In this article, we’ll explore the optimal camera equipment and settings to capture the best construction time-lapse videos.
Table of Content
The Importance of Quality Equipment
Before delving into camera settings, it’s crucial to start with the right equipment. Quality matters when it comes to construction time-lapse videos. Here, we’ll take a deeper dive into the significance of each piece of equipment and its role in achieving exceptional results.
1. High-Resolution Camera
A high-resolution camera is the backbone of any successful time-lapse video project. In the world of construction, where intricate details can make a significant difference, having a camera that can capture those details is paramount. Look for a camera that can shoot in 4K resolution or higher. This ensures that your time-lapse videos will be crystal clear, allowing viewers to observe even the smallest changes in the construction site.
A higher resolution also future-proofs your content. As technology advances and displays become more sophisticated, having 4K or higher resolution footage ensures that your time-lapse videos remain relevant and visually appealing.
2. Construction Time-Lapse Camera
For specialized longterm construction timelapse video, consider investing in a dedicated construction time-lapse camera. These cameras are designed to withstand the rigors of construction sites and provide features specifically tailored to this application. They often come with ruggedized housing to protect against dust, debris, and adverse weather conditions.
Timelapse video construction cameras also offer extended battery life, ensuring that your camera can capture the entire construction process without frequent interventions. Some even provide remote monitoring capabilities, allowing you to check on your project’s progress from anywhere.
3. Interchangeable Lenses
The ability to change lenses offers unparalleled flexibility in capturing different aspects of your construction project. Wide-angle lenses, for example, are excellent for showcasing the expansive scope of a construction site, providing viewers with a comprehensive view of the entire project. On the other hand, telephoto lenses allow you to zoom in on specific details, highlighting the precision and craftsmanship that goes into the construction.
By having a selection of lenses at your disposal, you can tailor your shots to suit the unique characteristics of your project. Whether you’re capturing the entire site or focusing on specific elements, interchangeable lenses provide the versatility required for compelling time-lapse videos.
4. Sturdy Tripod
A sturdy tripod is an unsung hero in the world of timelapse photography techniques. Construction sites are dynamic environments with constant movement, and even the slightest camera shake can ruin a time-lapse sequence. A high-quality tripod ensures that your camera remains perfectly stable throughout the entire recording process.
When selecting a tripod, consider its height, weight, and durability. The tripod should be tall enough to capture the construction site from an optimal angle and sturdy enough to withstand wind and other environmental factors. Additionally, a tripod with adjustable legs and a ball head allows for greater flexibility in framing your shots.
5. Intervalometer or Remote Shutter
Creating timelapse videos involves capturing a series of images at specific intervals over an extended period. To achieve this, you’ll need a device that can automate the process. Many modern cameras come equipped with built-in intervalometers, which allow you to set the time intervals between shots. If your camera lacks this feature, invest in a reliable remote shutter.
A remote shutter not only ensures precise timing between shots but also eliminates the need for physical contact with the camera. This minimizes the risk of unintentional movement and maintains the stability of your setup. Some remote shutters also offer advanced features like bulb mode, which is useful for capturing extended exposures during low-light conditions.
6. Weatherproofing
Construction sites are known for their dusty, dirty, and often unpredictable conditions. To protect your camera and equipment from the elements, consider investing in weatherproofing accessories. These may include rain covers, lens hoods, and protective cases.
Weatherproofing not only safeguards your gear but also allows you to capture time-lapse sequences in adverse weather conditions. Rain or shine, your camera can continue recording, ensuring that you don’t miss any critical construction milestones.
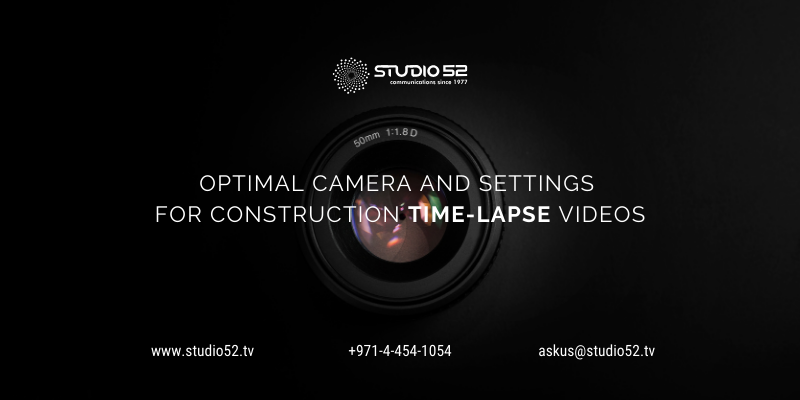
Recommended Camera Settings
Now that we’ve covered the essential equipment, let’s explore the recommended camera settings for capturing exceptional construction time-lapse videos. These settings play a pivotal role in ensuring your videos are visually stunning and captivating.
1. Manual Mode
Switch your camera to manual mode to have full control over exposure settings. This level of control is essential for maintaining consistent lighting throughout the time-lapse sequence. When your camera is set to automatic mode, it can adjust settings such as aperture, shutter speed, and ISO on the fly, resulting in inconsistent lighting as conditions change. Manual mode allows you to lock in your chosen settings and ensures a cohesive look throughout the video.
2. Aperture
The aperture setting determines the depth of field in your shots. To maximize the depth of field and keep both close-up and distant elements in focus, choose a narrow aperture, indicated by a high f-number (e.g., f/16 or higher). This is particularly important in construction time-lapse videos, where you want to showcase the entire site while maintaining sharpness throughout.
3. Shutter Speed
Selecting the right shutter speed is crucial in time-lapse photography. A slower shutter speed creates smooth motion blur in moving objects, such as construction equipment and workers. This effect adds a sense of fluidity and dynamism to your videos. A shutter speed of around 1/30 to 1/60 second is often ideal for achieving this motion blur while maintaining clarity in static elements.
4. ISO
Keep the ISO setting as low as possible to minimize noise in your images. Higher ISO values introduce graininess and reduce image quality. By using a lower ISO, you ensure that your time-lapse videos maintain a clean and professional appearance, even in low-light conditions.
5. White Balance
Manually set the white balance on your camera to match the lighting conditions on the construction site. Different times of day and varying weather conditions can result in changes in color temperature. Manually adjusting the white balance ensures that your videos maintain accurate and consistent colors throughout the sequence, preventing distracting color shifts.
Conclusion
Capturing construction time-lapse videos that stand out requires the right camera equipment and settings. A high-resolution camera with interchangeable lenses, a sturdy tripod, and an intervalometer are essential tools. In terms of settings, manual mode, a narrow aperture, slow shutter speed, low ISO, and proper white balance are key factors in creating stunning time-lapse videos.
Investing in quality equipment and mastering these settings will enable you to produce captivating construction time-lapse videos that not only document your project’s progress but also leave a lasting impression on viewers. So, gear up, set your camera, and start creating remarkable time-lapse videos of your construction endeavors today.
Construction Time-lapse Equipment FAQs
What type of camera do I need for construction time-lapse videos?
You need a high-resolution camera that can shoot in 4K or higher resolution. This will ensure that your time-lapse videos are crystal clear and allow viewers to observe even the smallest changes in the construction site.
What lenses do I need for construction time-lapse videos?
It is recommended to have a selection of interchangeable lenses, including wide-angle and telephoto lenses. Wide-angle lenses are excellent for showcasing the expansive scope of a construction site, while telephoto lenses allow you to zoom in on specific details.
What tripod do I need for construction time-lapse videos?
You need a sturdy tripod that can withstand wind and other environmental factors. The tripod should also be tall enough to capture the construction site from an optimal angle.
What intervalometer or remote shutter do I need for construction time-lapse videos?
You need a device that can automate the process of capturing images at specific intervals over an extended period. Many modern cameras come equipped with built-in intervalometers, but if your camera does not have this feature, you will need to invest in a separate intervalometer or remote shutter.
What camera settings do I need for construction time-lapse videos?
You should use manual mode to have full control over exposure settings. Choose a narrow aperture, such as f/16 or higher, to maximize the depth of field and keep both close-up and distant elements in focus. Use a slower shutter speed of around 1/30 to 1/60 second to create smooth motion blur in moving objects. Keep the ISO setting as low as possible to minimize noise in your images. Manually set the white balance to match the lighting conditions on the construction site.