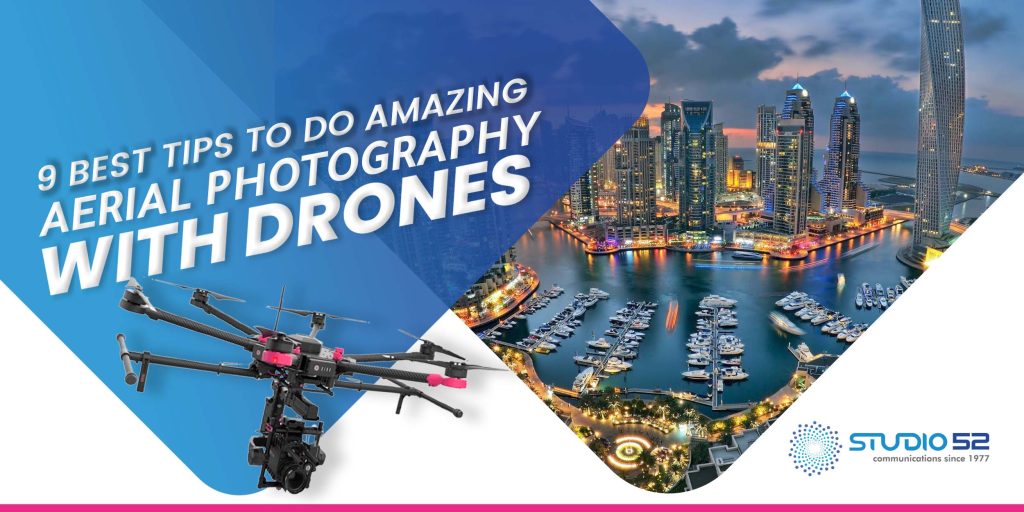
Drones can take some fantastic images if you’re trying to get into aerial photography. But there’s a lot more to it than simply getting the drone up in the air, taking a few snaps, and bringing it back down again. A drone’s camera has limitations—and so do human pilots!
To ensure your next batch of aerial photos turns out as great as possible, follow these tips to ensure your shots come out perfectly every time.
Table of Content
Read The Drone Manufacturer’s Guidelines
As you might expect, every brand offers different advice for how to operate their drones. For example, some companies will tell you not to fly near people or structures, while others may suggest that you stay away from crowds and airports.
Every location has its rules about where drones can and cannot be used—and all pilots must follow these regulations when flying (although these rules are subject to change).
Plan Your Shots Beforehand
Aerial photography takes a lot of preparation, but it will pay off in the long run. The first thing to consider is how high you want your camera to be when taking photos or videos and how far away from your subject it needs to be.
It can all change depending on what kind of shot you want, the size of the drone itself, and its flight range. The next thing is thinking about how many people are involved in the photo shoot.
Are there any unique props or locations involved? Will there be other people around? If so, this information must be considered during pre-production planning so everyone knows where they need to stand at each moment during filming so that no one gets hurt by another person’s movements!
The Best Time For Aerial Photography
The best time to fly a drone is when the sun is high. It means you’ll want to wait until late afternoon or early evening when it will be at its highest point, and the most direct light will shine on your subject.
If you’re planning on photographing something that requires several hours of natural light (e.g., flowers blooming), consider taking photos at different times throughout the day. For example, if you’re photographing flowers that only bloom during sunrise and sunset (like many dandelions), then take some pictures before noon and again between 4pm and 6pm, when they are fully open but still brightly lit by direct sunlight from above.
You should also avoid flying drones at night; unless you have special equipment installed on your drones, such as lights or infrared cameras. There will need to be more ambient light for your camera sensor to pick up much detail with additional lighting sources.
Also, it could ruin any shots by casting unwanted shadows onto whatever area you’re trying to capture.
Camera And Lens Choice
When shooting aerial photography, there are several important considerations to make. The first is what camera and lens you’re going to use. For most people, it will be an interchangeable-lens DSLR or mirrorless system camera (like the Sony A7/A9).
The second consideration is image sensor size. You can either go for a full-frame DSLR with a 35mm sensor or an APS-C format mirrorless camera with an APS-C-sized sensor. Full-frame cameras offer more resolution, but they also cost more than APS-C models and require larger lenses which are often heavier.
Mirrorless systems are lighter, smaller, and easier to travel with while offering good image quality (and great autofocus). If you want the best possible image from your drone, choose a camera body with both a high ISO range (needed for low light conditions) and built-in image stabilization (for smooth footage).
Pack An Extra Battery
The most important thing about a drone is that it runs on batteries. And these batteries are the single most expensive part of your drone, most likely to fail.
If you have an extra battery, you can swap it out for your current one when you notice a drop in performance. It will keep your equipment safe and prevent accidents caused by running out of power. However, if mishandled, extra batteries can be bulky, heavy, and dangerous.
Fly High For Wide Shots And Low For Details
Regarding aerial photography, there are two main views: the wide shot and the close-up. You can choose to get these at either lower or higher altitudes. Fly high for wide shots and low for details.
If you’re looking for a more “up-and-away” perspective, fly at a higher altitude (400 feet or above). If you want to capture more minor details, lower your drone closer to your subject’s eye level.
Stabilization Is The Key
If your camera isn’t stable while taking the picture, it can result in blurred images if you view them on a display screen. Also, the heavier your camera equipment is, the more likely you’ll need some form of stabilization when shooting from high altitudes.
The best way to keep your drone safe is to minimize its weight. It means you’ll want to remove accessories and non-essential parts before takeoff. The only exception is if your drone has a gimbal for stabilization or a camera, in which case you need to leave it on.
Use A Drone With A Gimbal And GPS
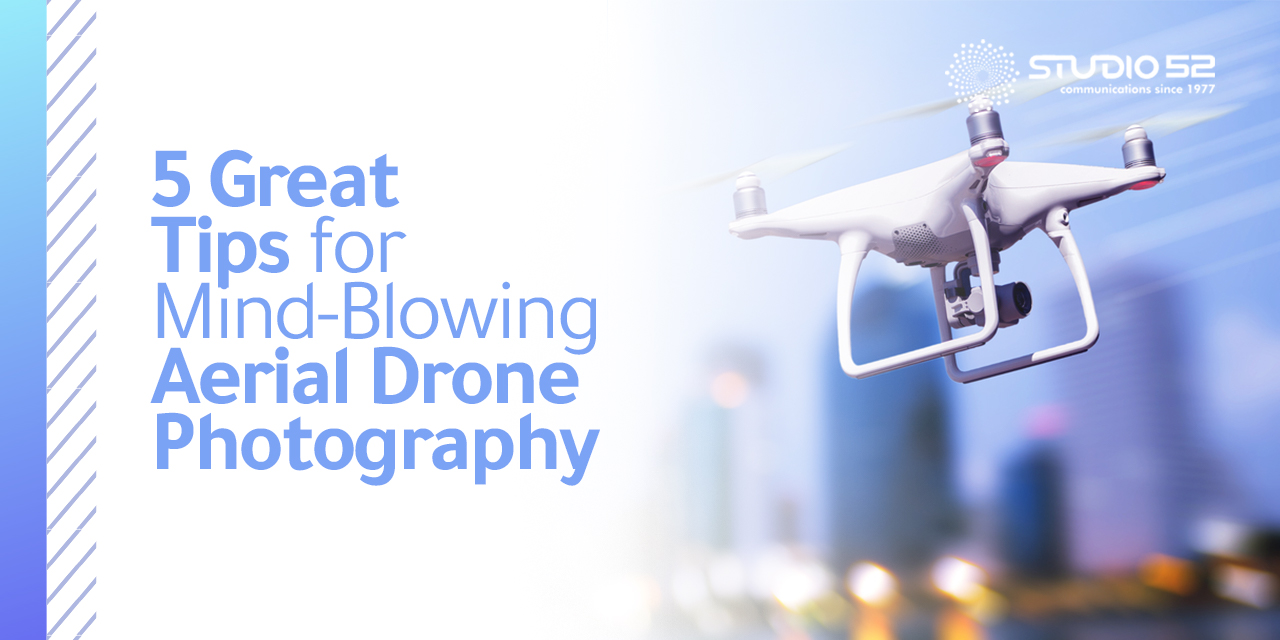
A gimbal is a mechanical device that keeps the camera level, while GPS allows the drone to find its way home when it gets lost or flies out of range. If you’re starting, try looking for drones with all three features: stabilization, GPS, and return home functionality (GPRS).
It will allow you to capture stable photos without too much experience, which makes it easier for beginners to fly their drones without having problems with getting lost. Another good thing about this feature is that it helps you to avoid crashing into trees and other obstacles while flying in the air.
Before And After Drone Photography Tips
Here are some after-shoot tips to help you get the most out of your drone photography:
Don’t Forget The Battery Levels
Batteries are one of the most expensive parts of a drone and one of the most important. A dead battery can ruin your shoot, so make sure you have a backup in case one runs out.
Make Sure Propellers Are Balanced
Propeller balancing isn’t a complicated process; it requires a small weight (usually included with your drone kit) that you place on an unbalanced blade. Even if you’re new to flying, it’s worth taking the time to do this, as it will extend the life of your blades and improve performance by reducing vibrations and wobbles.
Clean The Camera Lens
Dust on your camera lens can cause blurry photos or even damage the sensor, especially when shooting long exposures at dusk or dawn when there’s not much light available for focusing purposes.
Keep A Backup Ready
After you finish taking your photos, it’s essential to back up your images if anything happens to your computer or the external hard drive where you’re storing them (like a fire).
There are plenty of ways to back up your very best photos, but you can use an external hard drive and upload them to a cloud storage solution like Google Drive or Dropbox.
You can also use social media networks like Facebook and Instagram as an easy way to share photos with friends and family members online without having to worry about losing them if something goes wrong with your computer or external hard drive.
Clean Up The Pictures Before Sharing Them
After editing your pictures, you should clean them up before sharing them on social media platforms like Facebook, Instagram, or Twitter. It will help you ensure that there are no unwanted blemishes or objects in the background of your picture, which could distract viewers from what they are supposed to see in the photo itself.
Bottom Line
These tips will help you achieve the best aerial photos, but drones can be intimidating for those new to flying. That’s where we come in. We’re your one-stop shop for drone photography, with years of hands-on experience. So get in touch and let us make your aerial shots as beautiful as they deserve to be.


