

Today, time-lapse videos have invaded nearly every form of media, even breaking into our social media apps with the recent development of the hyper-lapse. Nowadays, it’s also very easy to shoot amazing and beautiful time-lapse photos as the camera gear, software, and knowledge is more accessible and affordable.
Timelapse allows you to capture the energy, rhythms, and motion of our vibrant world, which is why it’s gaining so much popularity. Many businesses such as the construction industry, real estate industry, shipping, interior, landscaping, etc have also adopted time-lapse extensively into their marketing collaterals.
Are you interested in finding out how to start shooting quality time-lapse photos? Or do you want to learn more about it so you can include it in your marketing mix? Here’s a low-down on all. Keep reading!
-
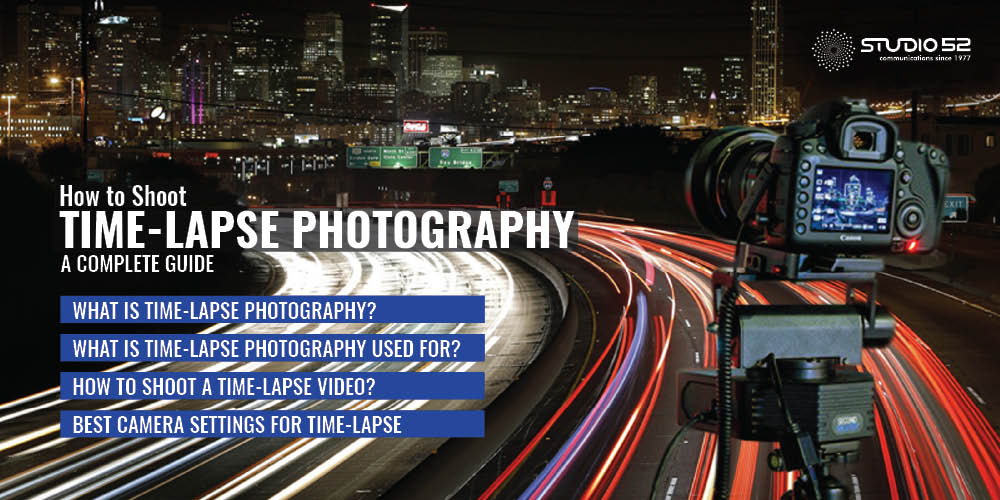
Table of Content
What is Time-lapse Photography?
Time-lapse is a photographic technique that involves taking multiple images of a certain subject, at a constant time interval. These images are then combined into a video. When played in sequence, the images from a fast-paced video of dramatic changes in the subject that happened over time.
When it comes to capturing the changes in a subject, your camera would focus solely on that subject and take hundreds, if not thousands, of images as it moves or evolves. Time-lapse is an excellent technique to capture the changes that are immensely slow and take years to evolve.
-
What Is Time-Lapse Photography Used For?
You must have seen dozens of time-lapse photos and videos in all forms of media. That’s because time-lapse is a creative way to showcase dramatic changes and movement in a scene, especially scenes that extend over a long period.
Time-lapse is frequently being used in tourism, marketing and government projects to showcase a topic. It is also very popular in the construction industry to capture and showcase a large-scale construction project, or by recreation sites to showcase the different amenities and the footfall.
-
How to Shoot a Time-Lapse Video?
Now you know what timelapse photography techniques is, so let’s take a look at how to create it. You might also be wondering why we keep interchanging time-lapse photos with videos. That’s because the ultimate result of time-lapse photos is going to be a video when all the images are put together. With the right equipment and the know-how, you can easily create some amazing time-lapse videos. The biggest challenge, however, is to get the correct interval between each photo captured.
So, let’s get straight to the steps to create a perfect timelapse!
Step 1: Camera Stability
Attach your camera to a sturdy tripod or clamp in a location where it won’t be bumped or disturbed for a clean video.
Step 2: Camera Set-Up
Set up your camera with the desired settings, including shutter speed, ISO, and aperture to suit the scene and lighting.
Step 3: Intervalometer Set-Up
Set up the intervalometer in your camera’s menu system, which is nothing but a system that determines the frame rate and how many shots you will take in total.
Step 4: Select Manual Mode
Whether you are using a mirrorless camera or a DSLR, manual mode is the best option to reduce any flickering in the video.
Step 5: Check Your Exposure
Use the LCD, viewfinder, or histogram display to check the overall exposure.
Step 6: Check the Focus
To ensure a sharp focus on your subject or scene, use either manual or autofocus. Be careful with autofocus as you don’t want it to re-adjust focus in the middle of a shot.
Step 7: Test Shot
Conduct a test shot with all the settings and preview the photos to make sure that the timing works perfectly and the exposure is correct.
Step 8: Remote Trigger
Use a self-timer, an app to control the shutter, or remote shutter release to trigger the shutter button to control the camera from far away.
-
Best Camera Settings for Time-Lapse
There are 4 basic camera settings that you must take care of while shooting time-lapse photos. Let’s see what they are.
4.1 Image Format
No matter what file format your camera has, it’s always best to choose RAW. They might be bigger than JPEG files, but they are better at capturing a greater level of data from the sensor. Just be prepared to handle a lot of data as you would be capturing hundreds of images.
4.2 Shutter Speed
Make sure that the exposure time is less than the interval between each shot. To get sharp images for each shot, it’s good to start with a shutter speed of 1/60 second.
4.3 Aperture
The aperture totally depends upon the type of subject you are photographing. For a landscape, you need a narrow aperture to ensure everything is in focus – f/5.6 or f/8 is ideal for this kind of work.
4.4 ISO
Set your ISO to a specific value and remove it from automatic control. Choosing the correct ISO depends heavily on the lighting conditions of your composition. Remember never to keep the ISO too high or else it can cause noise distortion on your image.
-
How to Edit Your Time-lapse Photos?
Now that you’ve captured hundreds of pictures with your time-lapse photography, how do you put them together into a video? The next step is to get to work using a powerful RAW image editor. There’s a range of excellent editing applications available for editing, such as Adobe Lightroom and Adobe Photoshop. Using any of these editing applications, you can easily handle large files and manage the process of creating perfect timelapse.
Here are the steps:
- Plug your SD card into your computer or card reader and import the full collection of images into Lightroom.
- Look for any image that has an issue.
- Select the image and edit it just as you would a regular single image.
- Copy the edited settings from that one image and apply them to every image in the collection.
- Export the entire collection of images to a folder, as JPEGs with a resolution of 1920×1080 pixels.
- Open up Adobe Photoshop, then click on the Window dropdown menu, select Workspace, and choose Motion.
- From the File dropdown menu, select Open and choose the folder where you exported your JPEGs. Then select Options and check the Image Sequence option.
- Set the frame rate that you want to use and then hit OK.
- Photoshop will create your professional timelapse video based on the settings you entered. At the bottom of the screen, you’ll see the video timeline. Here, you can play and preview the video to make sure you’re happy with it before exporting.
- The final step is to export the video to your desktop by selecting the File dropdown menu then Export and Render Video. Select the location and quality and hit Export.
Bonus Tips
- Don’t touch the camera at all during a time-lapse recording.
- If you’re shooting in bright conditions, then you should invest in a decent ND or Neutral Density filter.
- Time-lapse photography needs a large memory card for storage.
- Tripods made up of aluminum or carbon fiber frames are best for portability.
- Don’t forget to manually set your white balance as well.
- Your batteries will drain quickly so always carry spares.
Hope you have a better idea now about capturing time-lapse photos. As you can see time-lapse photography can be very addictive, and being able to create motion with your still images just adds another dimension to your projects. At first, it might take a little while to get the right shots, but with time and practice you will be able to adapt quickly.
All the best for creating compelling time-lapse videos to amaze your friends, followers or clients! For adding a more professional touch to your time-lapse videos, do get in touch with us!